The Holiday Cookie Decorating Guide
We love a good cookie swap here at F&W, but we also highly approve of assembling a group—coworkers, friends, family, you name it—for an afternoon of baking and decorating cookies simply for the fun of it. Here, we’ve assembled our favorite cookie and icing recipes, equipment recommendations, and 7 foolproof decorating techniques for the ultimate cookie decorating party. With our help, you and yours will feel confident at creating cookies almost too beautiful to eat.
The Cookies
You’ll want to bake up a few batches of cookies ahead of the party so you and your guests have plenty of blank canvases. We love these classicRoll and Cut Sugar Cookies. For a twist on the traditional, theseChocolate-Gingerbread Cookiesbake up beautifully and provide a dramatically dark backdrop for your artistry. We also love theseLime-Scented Almond Cookies. They’re pale and don’t spread too much when baked, but the bright and zesty lime gives them a special bite.
The Royal Icing
使up several batches ofroyal icing; you’ll be surprised how quickly you use it up. For outlining, keep the texture a little firmer; add water to thin it out for flooding or glazing. Use thesegel colorsto dye the white base icing to any color you can imagine. Just keep the icing covered with plastic wrap or tied tightly in piping bags—it will dry out quickly once it’s made! We like using a spray bottle to add just a spritz of water to dried out icing without thinning it too much.

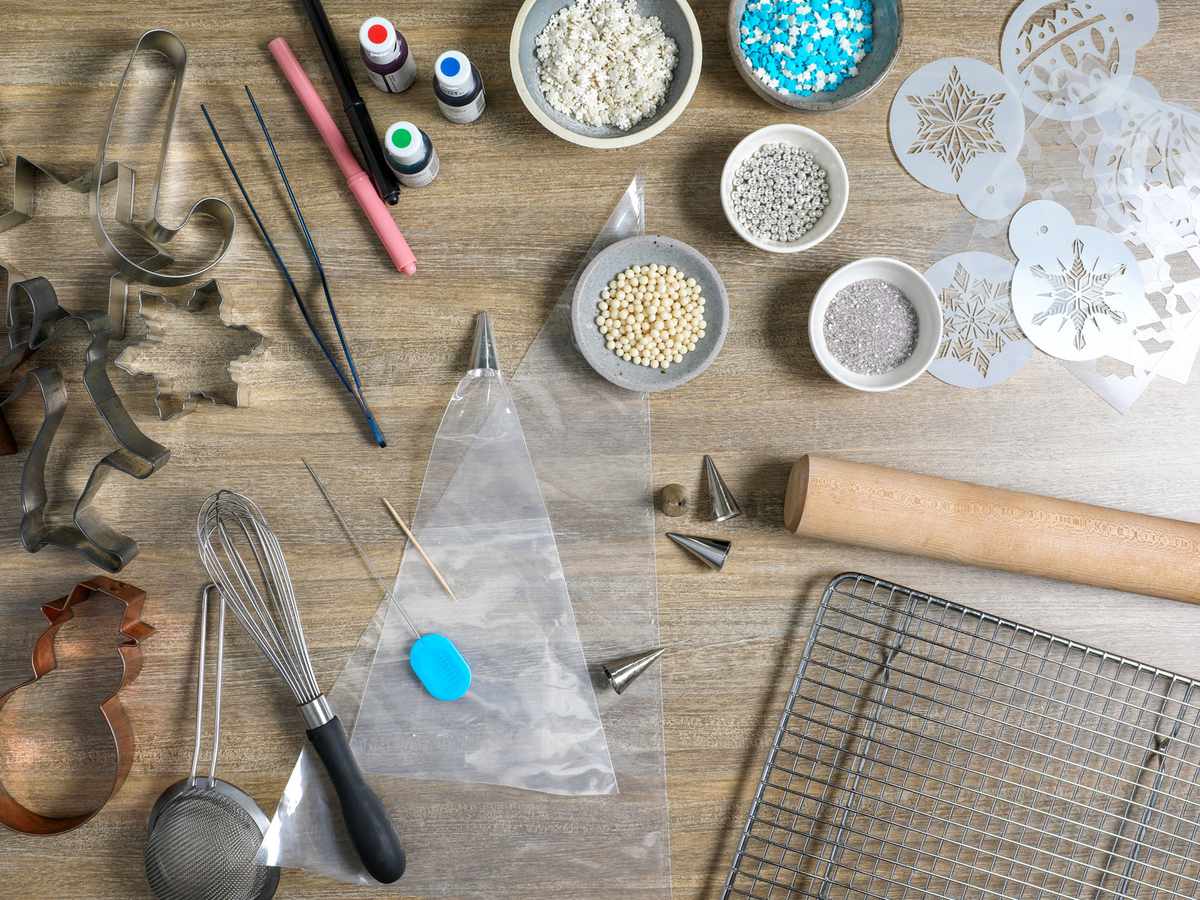
The Equipment
The ultimate cookie party begins with the proper tools. First of all: cookie cutters. We like these lovelywintry snowflakes, and some classicChristmasandHanukkahshapes. Tip from the Test Kitchen: make lots of snowflakes and stars, they’re the most fun to decorate.
You’ll needpiping bagsandtips(we like Wilton #3 for outlining and flooding) to fill with royal icing. Using real piping bags and tips instead of resealable plastic baggies will give you much more control and keep your decorating neater.
Cake testersare a real multipurpose tool: They’ll help you even out flooding, fix small mistakes and make hearts as well as other designs when marbling. Use atoothpickif you can’t get your hands on a cake tester.
Stencils are the easiest way to make the most intricate designs. We love thiswintry holiday collection, or cut out your own designs oncard stock paper.
Edible glitter.Sprinkles.Dragees. Add some sparkle to your decorations with somesugary toppings. Candy and sprinkles make great ornaments on Christmas trees and add sparkle to stars and snowflakes.
The Techniques

Stencil & Sugar
Place the stencil on top of the cookie and generously dust with powdered sugar using a small sieve. Carefully lift the stencil off the cookie. Use this technique with sifted unsweetened cocoa, too.

Edible Markers & Piping
The hardest part of piping is creating freehand designs. Give yourself a template with an edible marker and then use outline icing to pipe over it. The icing will cover the color and your design will look as precise as a stencil.
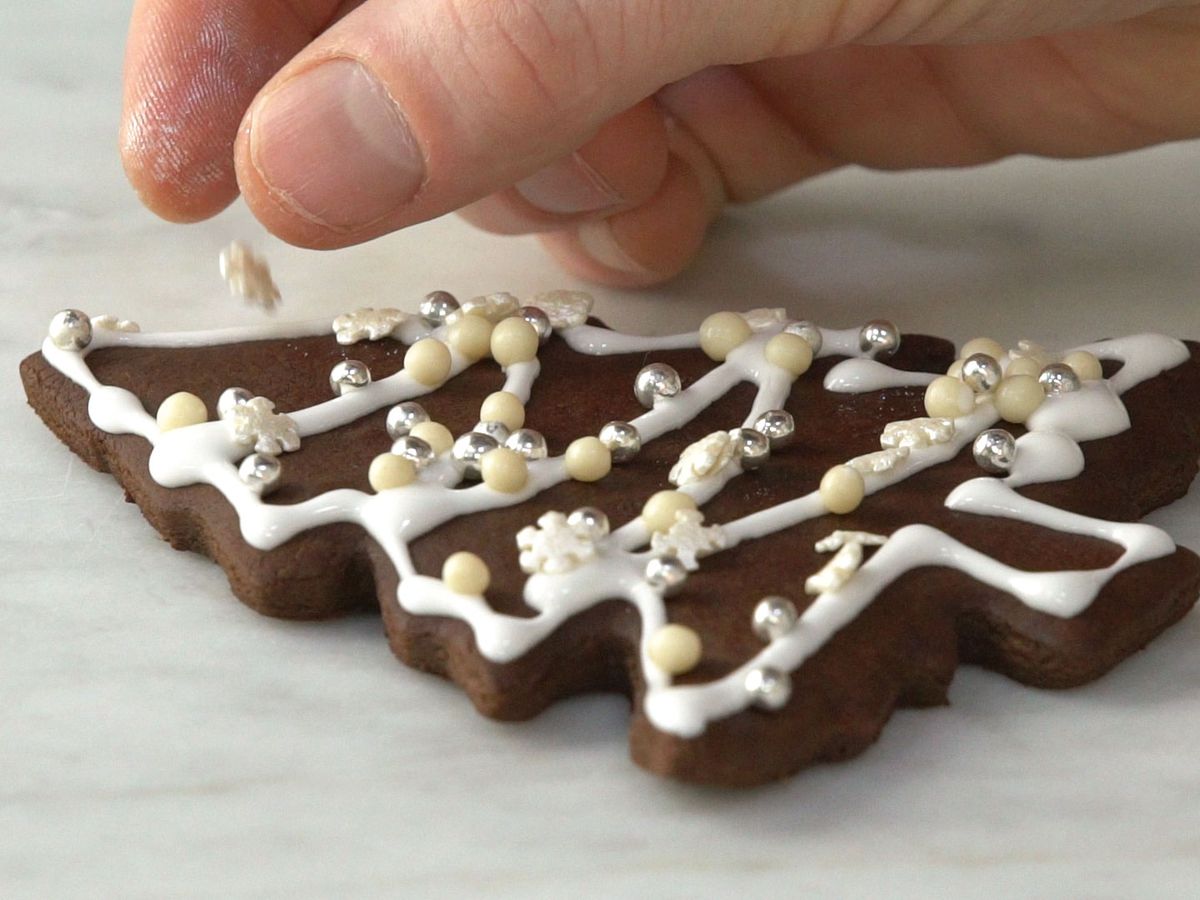
Candy & Sprinkles
Using outline icing as glue, decorate your trees, stars, and gingerbread people with dragees, candy, sprinkles and more. Work quickly—the icing will set within about 45 seconds.
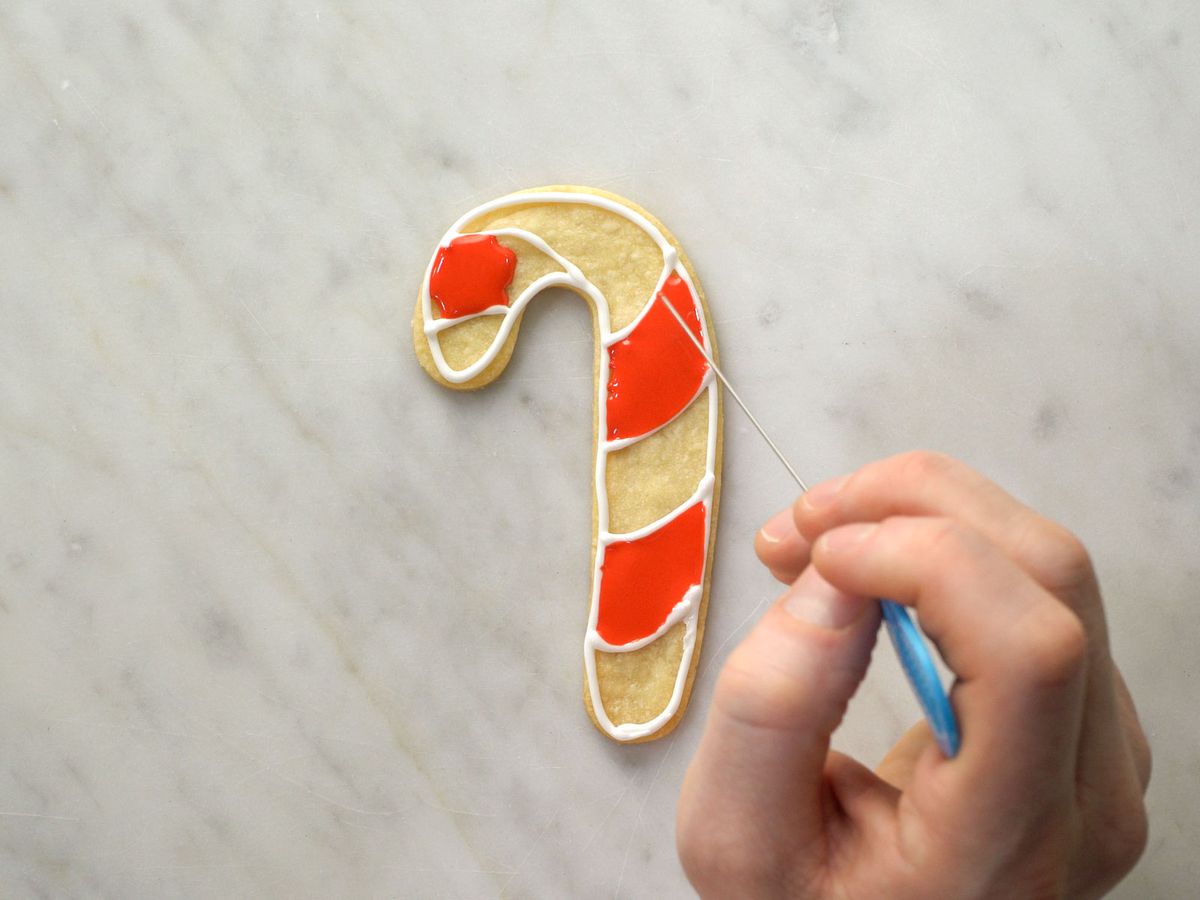
洪水&颜色阻塞
To create beautifully striped candy canes or geometric patterns on stars or dreidels, use a combination of outline and flooding icing. First, create the perimeter around the cookie by piping a thin outline. Pro trick: Position the piping tip about ½ inch above the cookie and allow the line of icing to drape down onto the cookie. Let the icing set, about 30 seconds. Using flooding icing, pipe within the outline using a zigzag motion. Use a cake tester or toothpick to evenly spread the icing on the surface and into the corners.
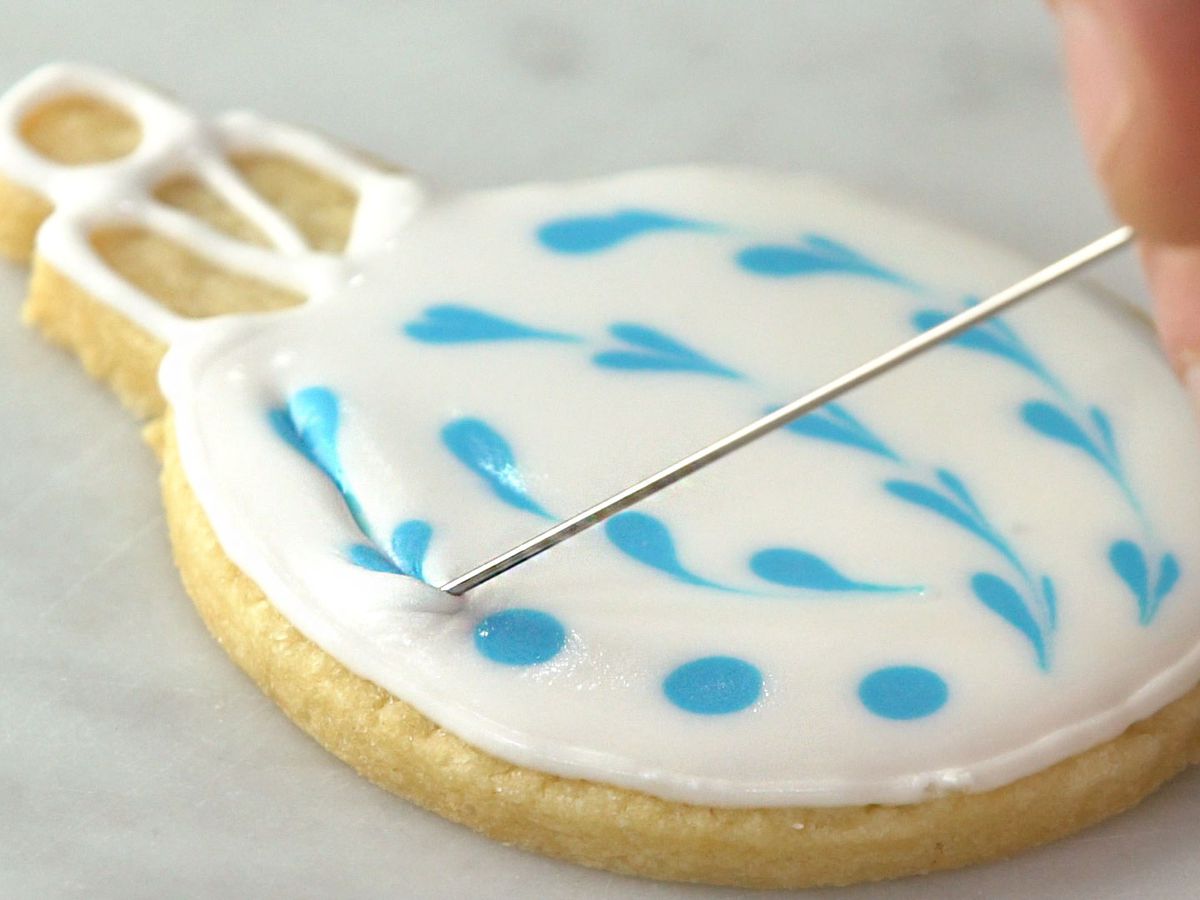
Flooding & Marbling
First, outline and flood your cookie (see above). Immediately after flooding, use an outline weight icing in a different color to pipe dots or lines into the flood. Drag through the center of the dots or lines with a cake tester or toothpick to create hearts or marbling.
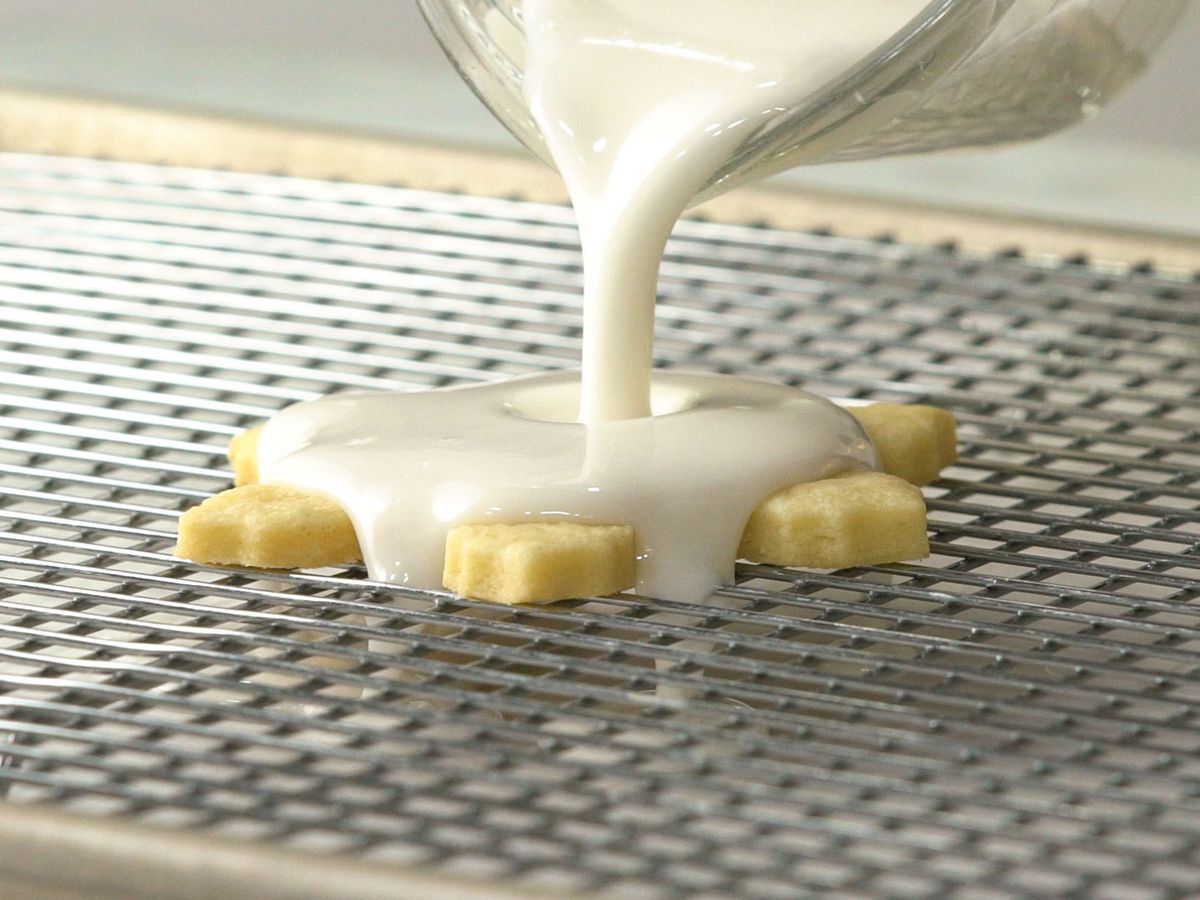
Glazing
Using a thinned royal icing, generously pipe or pour icing over a cookie on top of a wire rack set in a large rimmed baking sheet. Lift and tilt the cookie to allow the icing to spill over the edges. Let dry before serving.
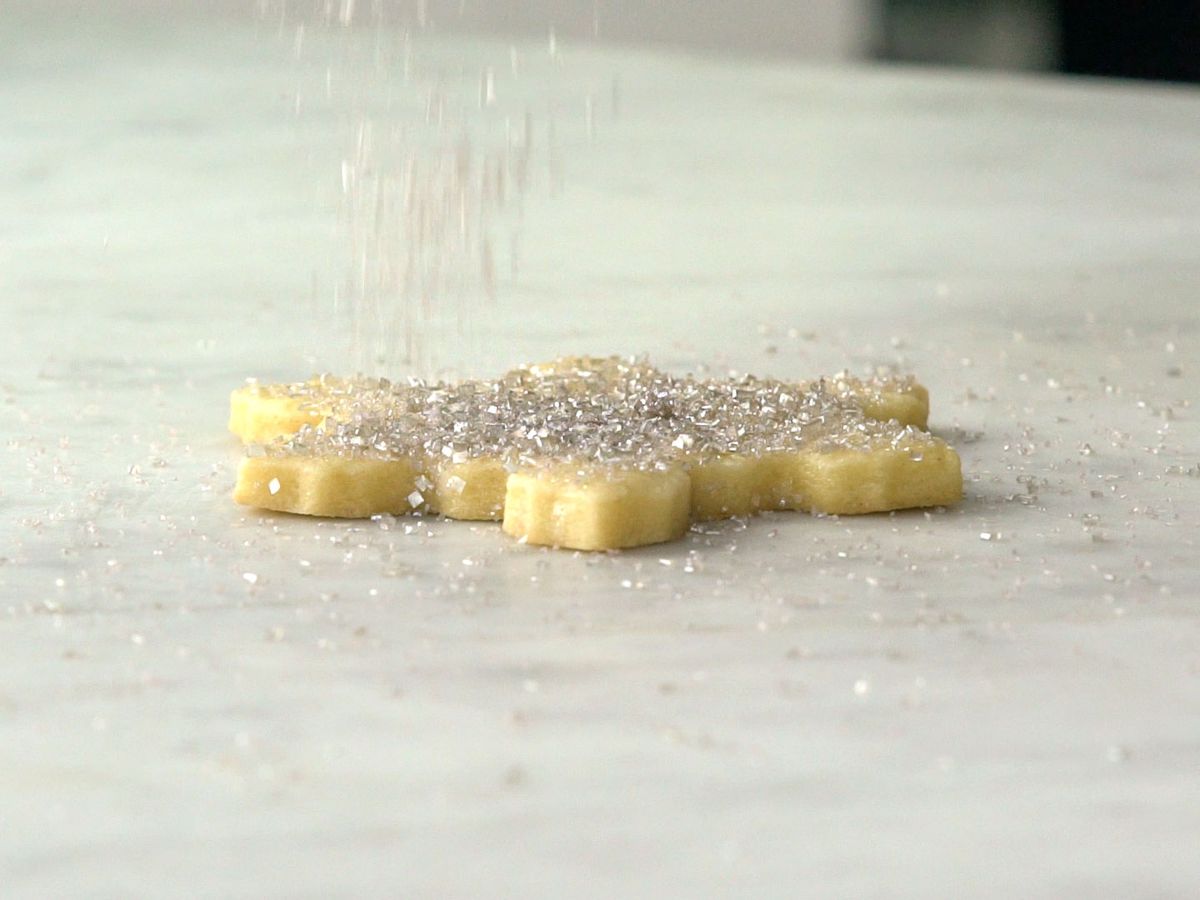
Glazing & Flocking
后立即上光,慷慨地尘埃首席运营官kies with sprinkles or glitter over the entire cookie. Lift, tilt, and gently shake the cookie to remove excess. Set down and let dry.